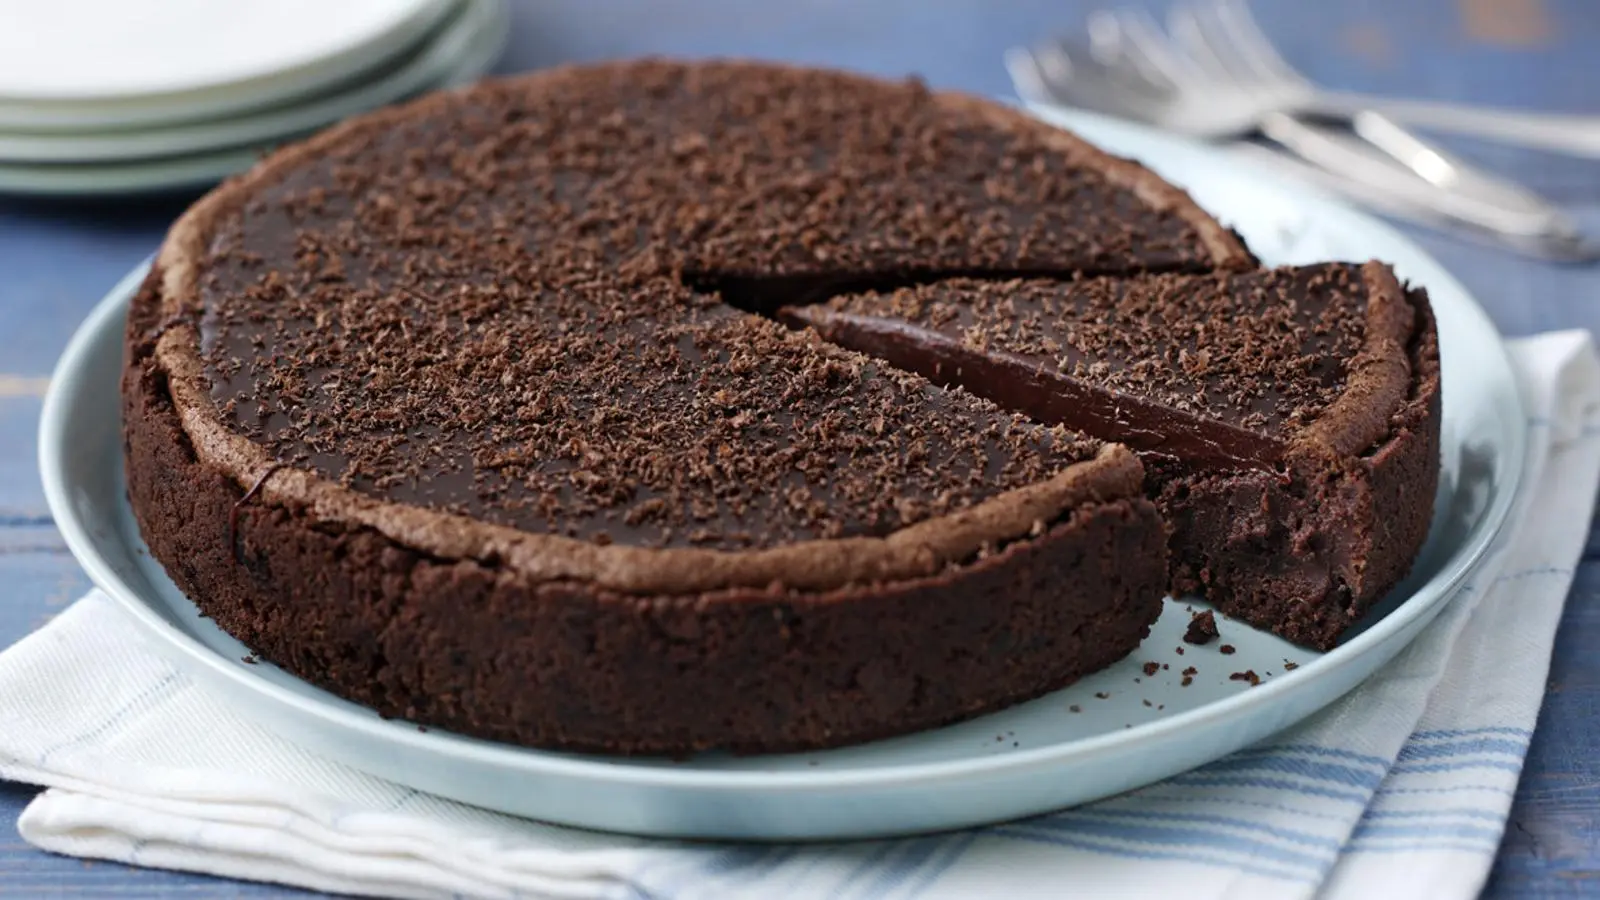
Easy Mississippi Mud Pie: Rich, Gooey, and Deeply Chocolatey
There’s a reason Mississippi mud pie has stuck around for generations. It doesn’t try to be delicate or elegant. It leans all the way into rich, gooey, over-the-top chocolate, layered so densely that one slice feels like it could satisfy a whole table. The name comes from its dark, glossy top, said to resemble the muddy banks of the Mississippi River, and once you taste it, you’ll understand why that reputation stuck.
Table of Contents
This version keeps things approachable without losing any of that decadence. A chocolate cookie crust, a fudgy brownie-like layer, and a cool, whipped chocolate topping come together in one pan, no complicated technique required.
Why You’ll Love This Mississippi Mud Pie Recipe
- No pie crust rolling required. A press-in chocolate cookie crust comes together in minutes.
- Rich, fudgy middle layer. Dense and gooey, closer to a brownie than a traditional pie filling.
- Cool, airy topping for contrast. Whipped chocolate keeps the richness from feeling one-note.
- Make-ahead friendly. This needs chill time regardless, so it’s built for prepping a day early.
- A guaranteed crowd-pleaser. Deeply chocolatey desserts rarely get turned down at the table.
Ingredients You’ll Need
Bake and cool the crust and fudge layer first, since the whipped topping goes on only once everything below it has fully chilled.
For the Chocolate Cookie Crust
| Ingredient | Amount |
|---|---|
| Chocolate sandwich cookies, crushed (with filling) | 24 cookies (about 2 ½ cups) |
| Unsalted butter, melted | 6 tablespoons |
For the Fudge Layer
| Ingredient | Amount |
|---|---|
| Unsalted butter | ½ cup (1 stick) |
| Semi-sweet chocolate, chopped | 4 oz |
| Granulated sugar | ¾ cup |
| Eggs | 2 large |
| Vanilla extract | 1 teaspoon |
| All-purpose flour | ½ cup |
| Unsweetened cocoa powder | ¼ cup |
| Salt | ¼ teaspoon |
| Pecans, chopped | ½ cup |
For the Whipped Chocolate Topping
| Ingredient | Amount |
|---|---|
| Heavy whipping cream, cold | 1 ½ cups |
| Unsweetened cocoa powder | 3 tablespoons |
| Powdered sugar | ¼ cup |
| Chocolate shavings or chopped pecans, for garnish | ¼ cup |
How to Make Mississippi Mud Pie
Work through the crust and fudge layer first, then let both cool completely before adding the whipped topping.
Step 1: Prep the Pan and Oven
Preheat your oven to 350°F. Line a 9-inch pie dish or an 8×8-inch pan with parchment paper, leaving a slight overhang if using a square pan for easier removal later.
Step 2: Build the Crust
Pulse the chocolate sandwich cookies in a food processor until finely crushed, or crush them in a zip-top bag with a rolling pin. Mix the crumbs with the melted butter until evenly moistened. Press firmly and evenly into the bottom of your prepared pan. Bake for 8 minutes, then set aside to cool while you make the fudge layer.
Step 3: Make the Fudge Layer Batter
Melt the butter and chopped chocolate together in a microwave-safe bowl in 20-second bursts, stirring between each, until smooth. Whisk in the sugar, then add the eggs one at a time, followed by the vanilla. Fold in the flour, cocoa powder, and salt, stirring just until no streaks of flour remain. Fold in the chopped pecans.
Step 4: Bake the Fudge Layer
Pour the batter over the cooled crust and spread evenly. Bake for 25 to 28 minutes, until the edges are set and the center still looks slightly underdone. It will continue to firm up as it cools, so don’t wait for a fully clean toothpick. Let cool completely at room temperature, about 1 hour, then refrigerate for at least 1 hour before topping.
Step 5: Make the Whipped Chocolate Topping
Whip the cold heavy cream, cocoa powder, and powdered sugar together until stiff peaks form. Start on low speed to avoid a cocoa powder cloud, then increase to medium-high once combined.
Step 6: Top and Chill
Spread or pipe the whipped chocolate topping over the chilled fudge layer, swirling it decoratively with the back of a spoon. Scatter chocolate shavings or chopped pecans on top. Refrigerate for at least 1 hour before slicing, so everything holds together cleanly.
Pro tip: Use a knife warmed under hot water and wiped dry between cuts. This gives you clean slices through all three layers instead of a smeared, messy cross-section.
Nutritional Information (Per Serving)
Based on a pie cut into 10 slices. Values are approximate and will vary based on exact brands used.
| Nutrient | Amount |
|---|---|
| Calories | 385 |
| Total Fat | 27g |
| Saturated Fat | 14g |
| Carbohydrates | 34g |
| Sugar | 24g |
| Protein | 5g |
How to Store Mississippi Mud Pie
Because this pie relies on a chilled fudge layer and whipped topping, refrigeration keeps it at its best.
- Refrigerator: Store in an airtight container or tightly covered for up to 5 days.
- Freezer: Freeze the pie without the whipped topping for up to 2 months, wrapped tightly. Add fresh whipped topping after thawing in the fridge overnight.
- Room temperature: Fine for up to 30 minutes while serving, but the whipped topping softens quickly beyond that.
Frequently Asked Questions
Can I use a graham cracker crust instead for this Mississippi mud pie recipe?
Yes, though the chocolate cookie crust is more traditional and adds an extra layer of chocolate flavor. A graham cracker crust works fine as a substitute if that’s what you have on hand.
Why is my Mississippi mud pie fudge layer too soft to slice?
This usually means it needs more chill time. The fudge layer should feel firm to the touch after at least an hour in the fridge before you add the whipped topping, so give it extra time if it still feels soft.
Can I make Mississippi mud pie ahead of time?
Absolutely, and it’s actually the easiest way to serve it, since the pie needs chill time regardless. Make the crust and fudge layer a day ahead, then add the whipped topping the next day, right before serving.
Do I have to include pecans in Mississippi mud pie?
No, they’re traditional but optional. You can leave them out of the fudge layer entirely, or swap in walnuts if you prefer a different nut, without changing anything else about the recipe.
Ready to Bake?
This Mississippi mud pie delivers everything a serious chocolate dessert should: a crunchy cookie crust, a dense fudgy middle, and a cloud of whipped chocolate on top. It’s rich enough to serve in small slices and impressive enough to be the star of any dessert table. Give this recipe a try for your next gathering, and if you make one, snap a photo and tag it so others can see how yours turned out.